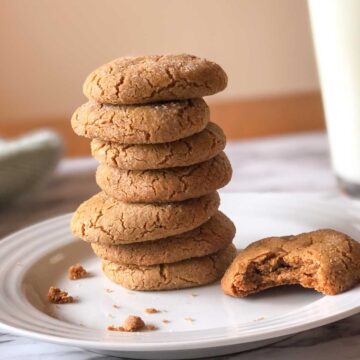
These gluten free vegan spritz cookies are as tasty as the old-fashioned spritz cookies but are made without wheat flour, eggs, and butter. They're often included on cookie plates during the holidays but are a festive and delicious treat any time of year.

Gluten free vegan spritz cookies are one of my family's favorite Christmas cookie traditions but really, we make them year-round because they're so good!
Spritz cookies are traditionally butter cookies with almond flavor added. When my son was diagnosed with allergies to egg, wheat, peanuts, and dairy, it seemed that we would be skipping our spritz cookie tradition.
Fortunately, I was able to use some allergy friendly substitutes to alter the cookie recipe I grew up enjoying!
Ingredients
To make these cookies gluten free and vegan, I used several allergy friendly substitutes.
Butter substitute
To replace the butter, I used Earth Balance Buttery Spread. It is one of the few dairy free margarine options available and it does have a nice flavor. If you don't need to avoid dairy, you can certainly use butter in this recipe.
Gluten-free flour
I have used a variety of gluten free flour blends for this recipe. The main thing with subbing gluten-free flour for wheat flour is to use some whole grain flours and some starches to mimic the texture of wheat flour. You'll also want a flour blend with xanthan gum added as it does help to bind the dough together.
This recipe has been tested with this DIY all-purpose flour blend. When using this blend, I add ½ teaspoon xanthan gum to the flour for this recipe.
I mostly use Bob's Red Mill gluten-free all-purpose flour blend which already has xanthan gum added.
Egg substitute
I have played around with different egg substitutes for this recipe. Specifically, I have tried powdered egg replacers and aquafaba.
Powdered egg replacers
I have made these cookies with two different powdered egg replacers: Ener-G Foods Egg Replacer and Bob's Red Mill Egg Replacer.
Both of these work well in this recipe, however, the Bob's Red Mill egg replacer tends to get thicker than the Ener-G foods option. This makes the dough a bit dryer.
If you find that the dough is very hard to push through the cookie press or the dough is crumbly, add one tablespoon of water and mix it until the dough starts to stick together.
Aquafaba
I always like to try to use allergy friendly substitutes that are the most accessible. I think of grandmas who want to make a treat for their grandchild and might not have access to specialty ingredients or don't want to buy a whole box of egg replacer for one recipe.
For this reason, I also tested this recipe with aquafaba. What the heck is aquafaba? I'm glad you asked!
Aquafaba is the brine from a can of beans. Yes, when you crack open a can of garbanzo beans and dump off the liquid, that's your egg substitute right there! I know it's a little weird but the brine from beans has starch, some protein, and liquid that is similar to an egg so it works well for baked goods.
If you use aquafaba in this recipe, you only need 3 tablespoons. A can of beans usually has about 12 tablespoons (about ¾ cup) so you'll have extra. If you get in the habit of using aquafaba, you can freeze the extra liquid for later. I pour it into an ice cube tray and, when it's frozen, I transfer the cubes to a freezer bag to use in future baking. It's pretty slick!
Aquafaba is usually from garbanzo beans but I have also used great northern and pinto beans and both work fine.
Aquafaba vs powdered egg replacers
We tested both aquafaba and Bob's Red Mill Egg Replacer in these cookies. Here are our observations from testing:
- Both made dough of the correct consistency for pressing through a cookie press.
- The aquafaba cookie baked faster so the cooking time had to be reduced by a minute to get a less crunchy cookie.
- We liked the texture of the Bob's Red Mill Egg Replacer better overall.
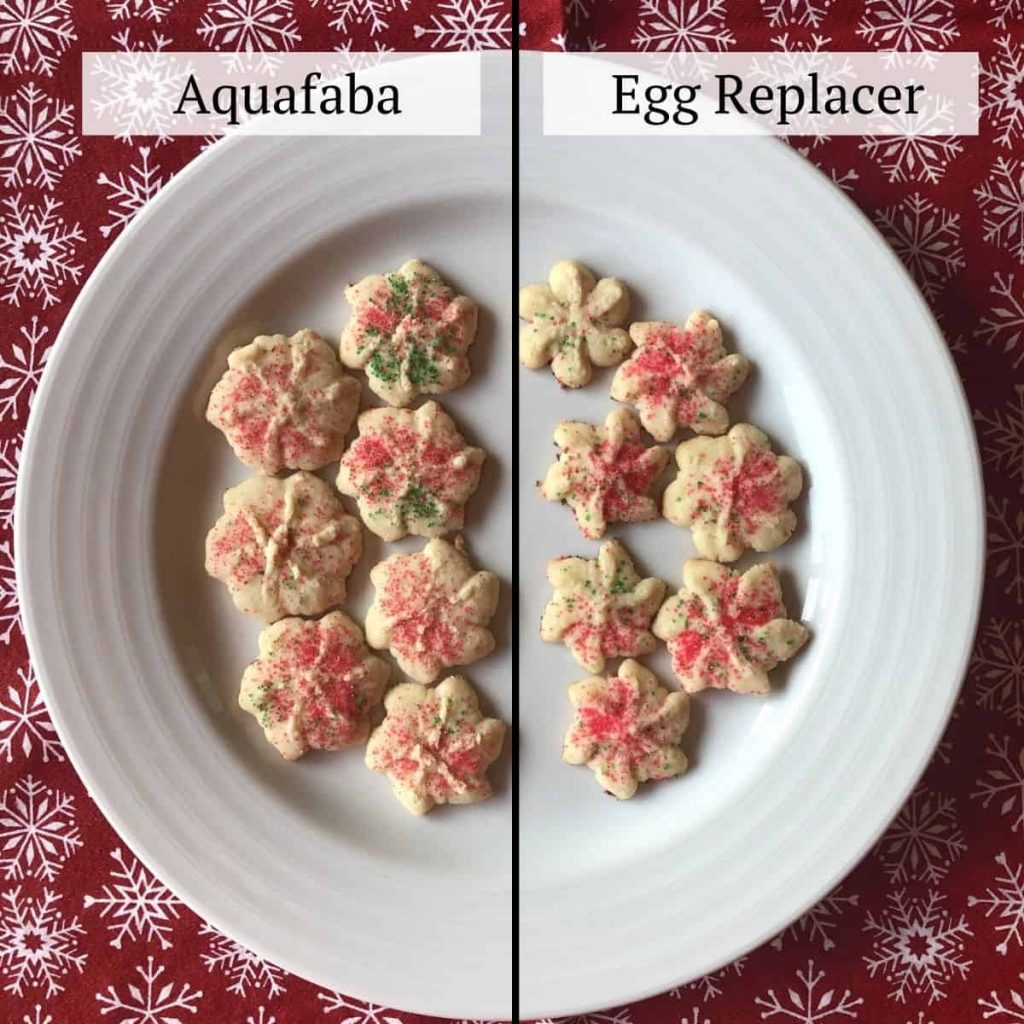
Overall, it was a close race so I wouldn't hesitate to use aquafaba. Just be sure to take the cookies out of the oven about a minute sooner to avoid having crunchy cookies.
Equipment needed
The main thing you'll need to make gluten free vegan spritz cookies is a cookie press. You can find them at any big box store or on Amazon.
I have used a variety of presses from the cheapest plastic one you can find to an antique metal one that I inherited from my grandma.
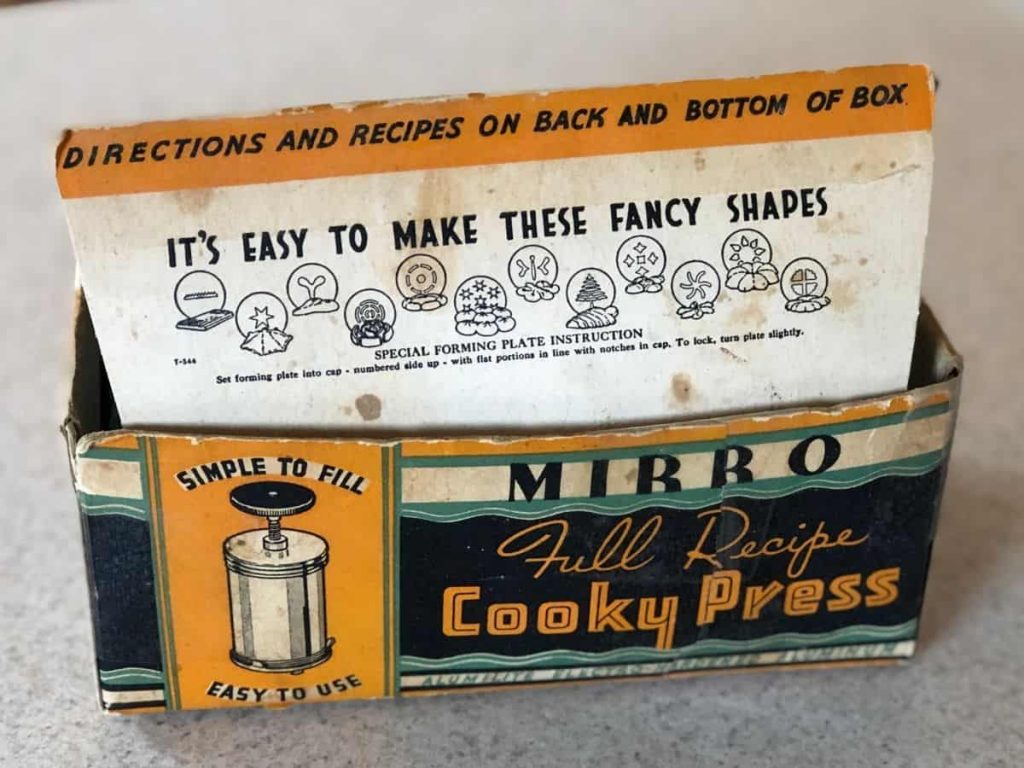
Grandma's is very different than what you find in stores now. The top knob is turned clockwise to push out the dough and then turned counterclockwise to cut the dough from the press. It took me a long time to figure out how to work it but now I love it!
If I didn't have Grandma's cookie press, I would use one that is a cookie press and decorator. Multifunctional kitchen tools are the best!
Decorating tips
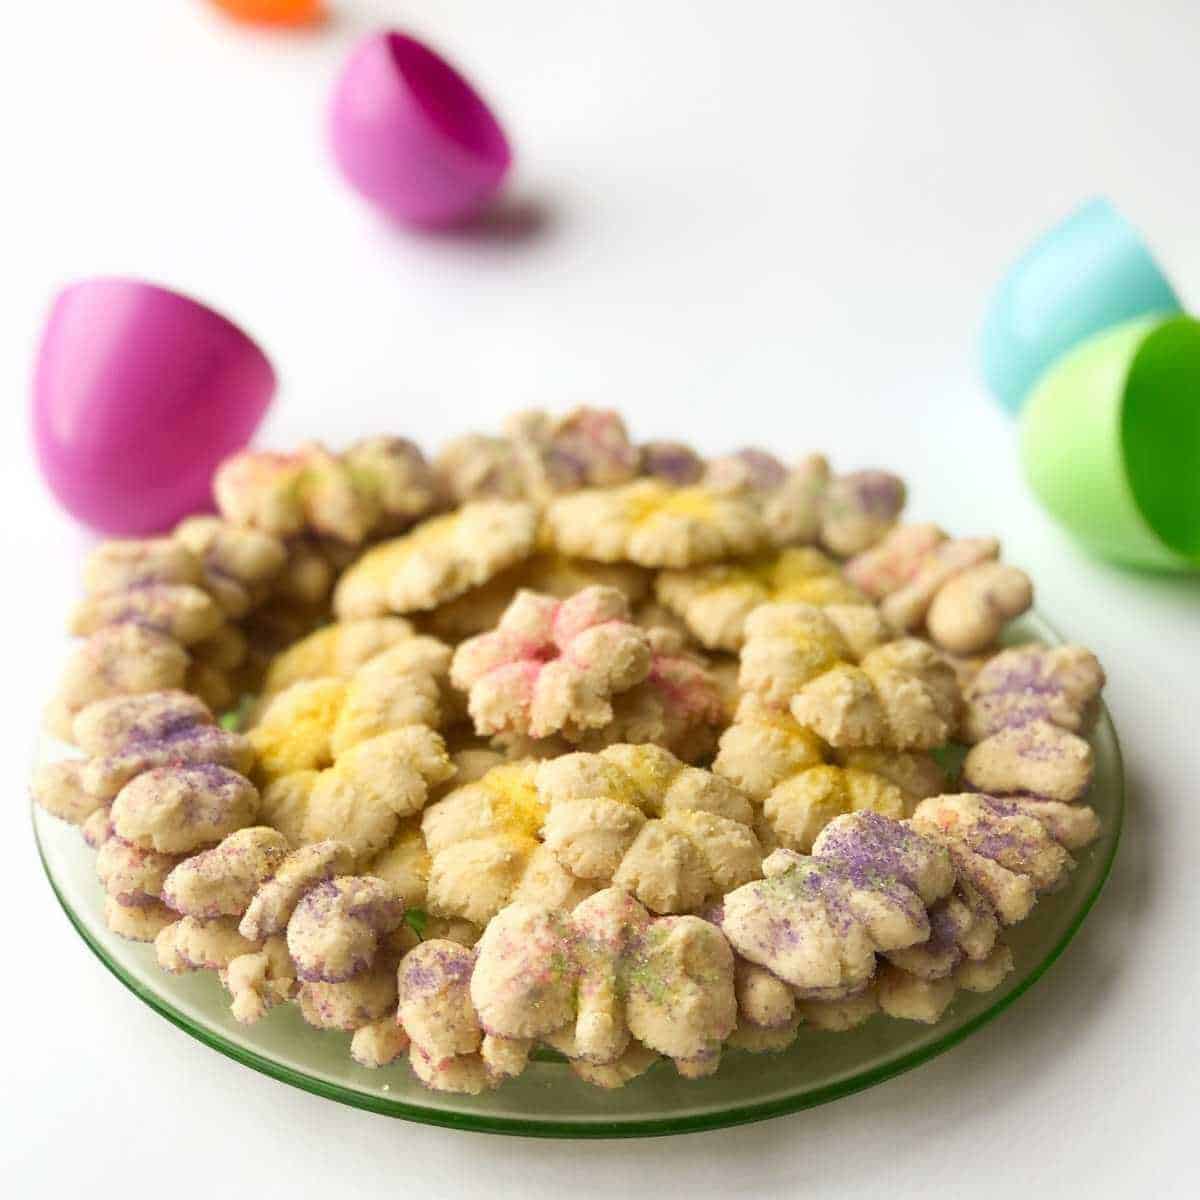
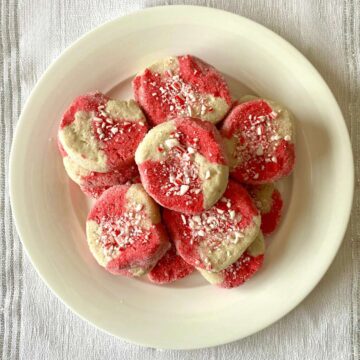
Decorating these cookies is easy! Just find sanding sugar in the color of the season and sprinkle it on before baking.

You can also add food coloring to the dough before baking. During the holidays, I often divide the dough in half and make half of it green for Christmas trees and half plain for other shapes.

For a "fancy" cookie, try this: Divide the dough in half. Add a food coloring color of your choice to one half and leave the other half white. Add one color of dough to one side of the cookie press then add the other color to the other side. Press the cookies onto the cookie sheet and you will get a "half and half" cookie. My son loves these!
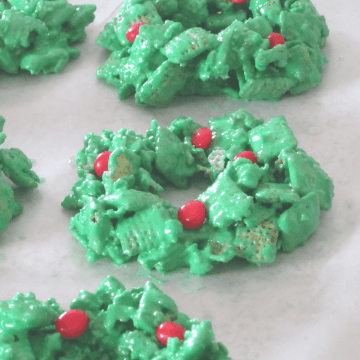
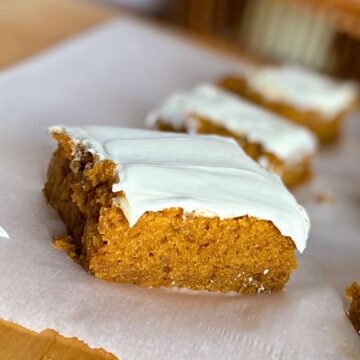
More holiday treats


📖 Recipe

Gluten Free Vegan Spritz Cookies
Equipment
- Cookie press
- Stand mixer optional
Ingredients
- ¾ cup "safe" margarine such as Earth Balance
- ½ cup granulated sugar
- 2 teaspoons egg replacer
- 2 tablespoons warm water
- 1 teaspoon vanilla extract
- ¼ teaspoon salt
- 2-¼ cups all-purpose gluten-free flour
- 1 tablespoon water (see notes below)
Instructions
- Preheat oven to 400 degrees F.
- In a mixing bowl, beat the margarine and sugar together until creamy. In a small bowl, mix the egg replacer and water together. Add the egg replacer mixture, vanilla, and salt to the margarine and sugar mixture and mix until combined well. Add the flour gradually while mixing until fully incorporated.
- If desired, add food coloring to the dough for tinted cookies (we like green for Christmas trees!) Put the dough into cookie press and press onto ungreased baking sheets. Add decorations such as tinted sanding sugar before baking.
- Bake for 5-6 minutes until set but not brown. Remove cookies from baking sheets immediately and transfer to paper towels or a cooling rack.
Notes
Nutrition
Love this recipe?
Please leave a rating ⭐⭐⭐⭐⭐ and share your comments below!
Stay in touch on social media! You can find me @ Instagram, Facebook, and Pinterest. I love getting your feedback so please tag me if you try a recipe!

- Gluten Free Stuffing Recipe - November 13, 2025
- Nut Free Protein Bars - July 8, 2025
- Gluten Free Swedish Meatballs Recipe (Top 9 Allergen-Free) - February 2, 2025
Jessica says
These cookies came out perfect, taste just like the ones I used to make before I had to start eating egg-, dairy-, and gluten-free! I tried 3 other recipes before this one and none came close. I suggest reading all the notes because they come in very useful! Thank you for this recipe!
Kristi Winkels, RDN, LD says
Thanks for your comment, Jessica! I'm so glad you enjoyed them!
Patti says
Can you use applesauce as egg replacement? Thank you!
Kristi Winkels, RDN, LD says
Hi Patti,
I haven't tried this so I'm not sure if it would work. Applesauce would definitely incorporate moisture into the cookies like the egg replacer does but it does not have any leavening agents like egg replacer does so it might lead to a flatter cookie that does not hold its shape. If you try it, I'd love to know how it turns out!
Judy says
So good! Make a double batch - they go fast!