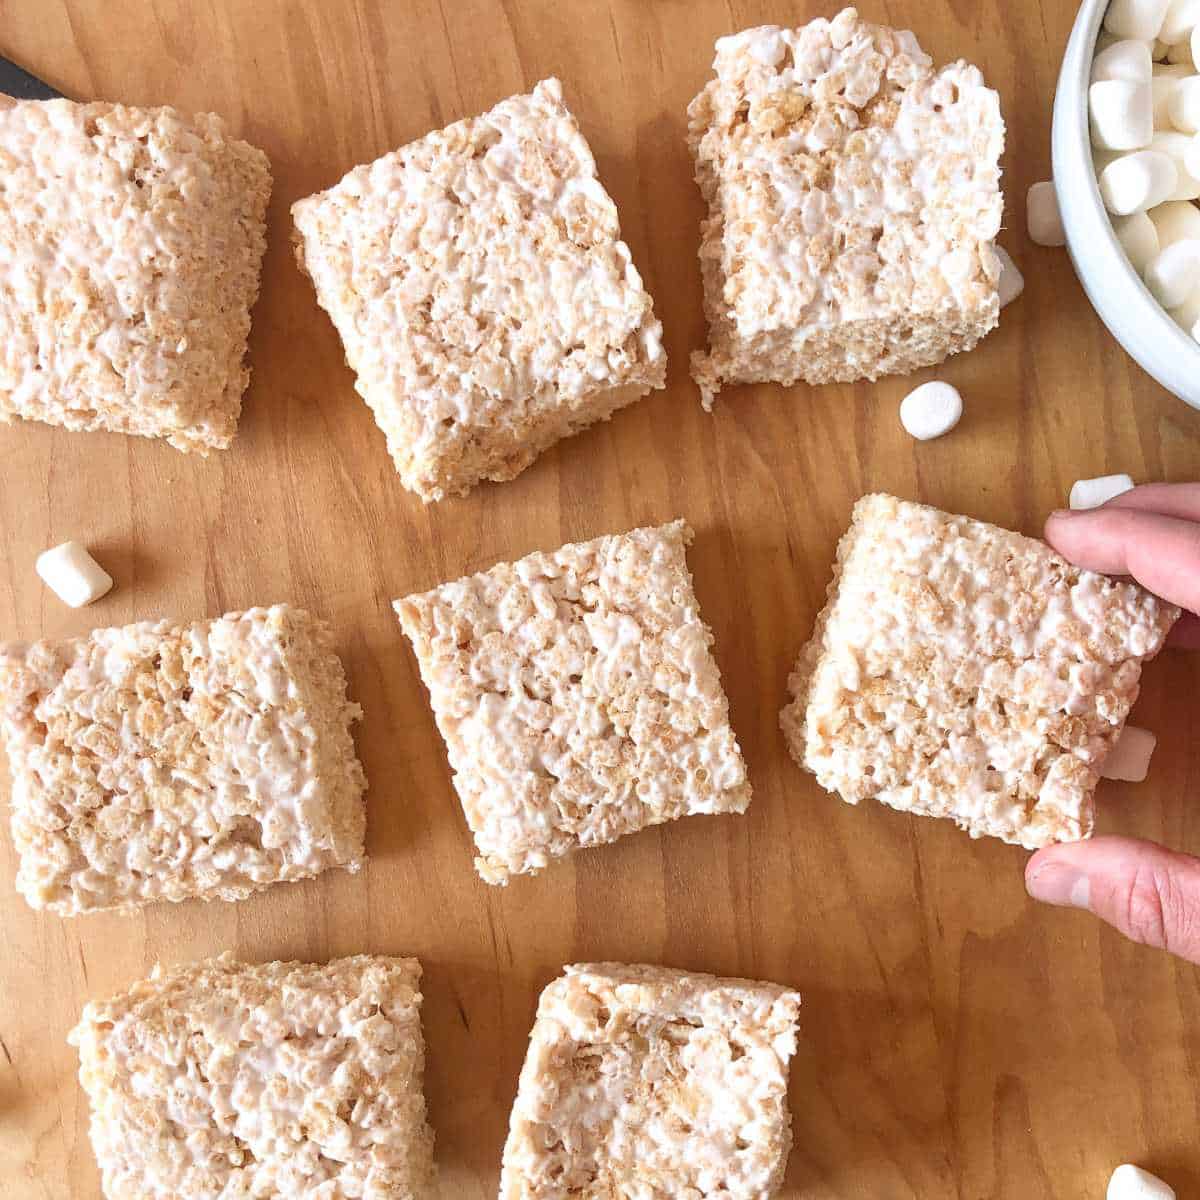
A variation of a classic recipe, these gluten free dairy free Rice Krispie treats are quick and easy to make, require only three ingredients, and are always a crowd-pleaser! Plus, they're free of the most common allergens so everyone can enjoy them.
Note: I am an Amazon and Instacart affiliate and may share links to their service and products in this post. Please know that as an affiliate, I may receive a small commission on the products you purchase after clicking through my links. For more info, please see my disclosure policy here.
Why you'll love these rice crispy treats
Rice Krispies treats are a dessert that everyone loves but, if you're avoiding gluten, dairy, and soy, the traditional version of these treats is off the table. Luckily, you can easily make gluten and dairy free rice krispie treats without gluten and common allergens.
Here's why you'll love this rice krispie treats recipe:
- It requires only a few simple ingredients that are easy to have on hand so you can make these treats whenever the craving arises.
- It's easy to make! In fact, this recipe is so easy to follow that even my teenage boys can whip up a batch of these goodies!
- Rice crispy treats have a sweet flavor and a crunchy texture that many people find irresistible (myself included). The combination of crispy cereal and gooey marshmallows is a winning one that appeals to all ages.
- It's one of the most versatile gluten and dairy free desserts with many ways to customize it for any taste, preference, or occasion!
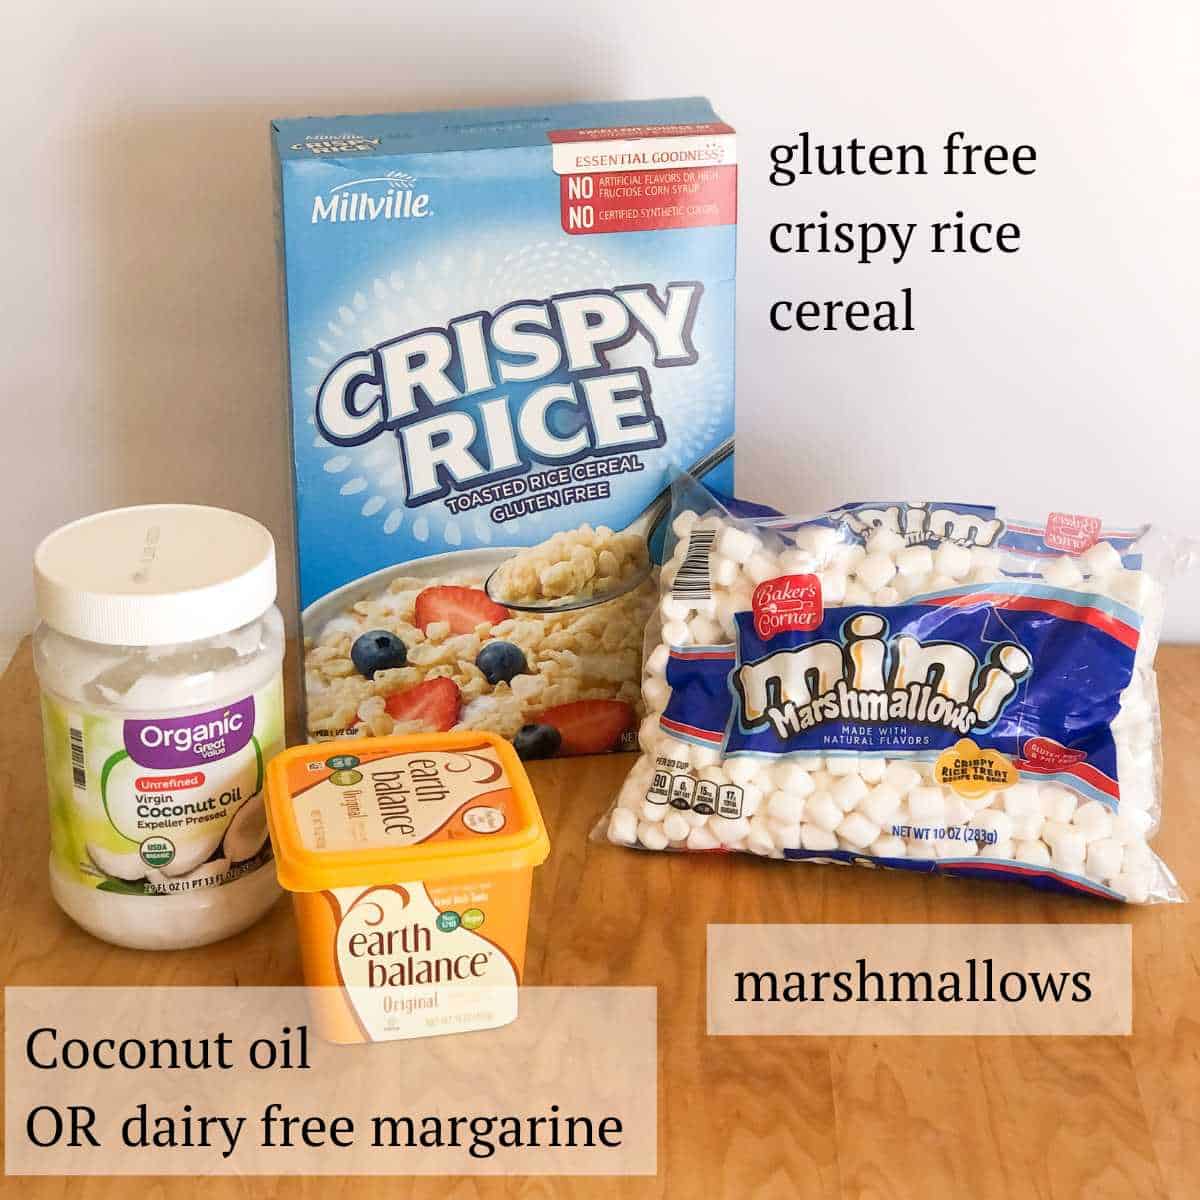
Ingredients
You'll only need three ingredients to make these gluten and non dairy rice crispy treats:
- Dairy free butter or coconut oil
- Marshmallows (I prefer mini marshmallows but large work, too)
- Gluten free crispy rice cereal
The list is short but, of course, there are some things to consider when you're selecting the ingredients to be sure they are suitable for your specific diet.
Dairy free margarine or coconut oil
Making these dairy free rice krispie treats with coconut oil gives them a delicious flavor. I also love using coconut oil for this dairy free recipe because it's easy to find at most stores and it has a long shelf life. That means it's easy to have on hand when you want to make an impromptu treat!
If you can't have coconut due to an allergy or don't like the flavor, there are several vegan butter options available:
- Earth Balance Buttery Spread - dairy free and dairy/soy free varieties are available.
- Melt Organic - dairy and soy free. Contains coconut.
- Country Crock Plant Butter - dairy free. Contains soy.
Find more dairy free substitutes on the dairy substitutes page.
Marshmallows
Most marshmallows are made of corn syrup, cornstarch, and gelatin and do not typically contain common allergens like dairy, wheat, or eggs. Of course, careful label reading is always advised!
This post about ingredients in marshmallows can help you find a brand that works for you.
Cereal
For gluten free rice krispie treats, you'll need to choose gluten free rice crispy cereal. Here are some options:
Millville Crispy Rice
- Ingredients: Rice, Sugar, Corn Syrup, Salt. Vitamins And Minerals: Ferric Orthophosphate (source Of Iron), Sodium Ascorbate (vitamin C), Niacinamide (vitamin B3), Zinc Oxide (source Of Zinc), Folic Acid, Riboflavin (vitamin B2), Pyridoxine Hydrochloride (vitamin B6), Vitamin A Palmitate, Thiamin Mononitrate (vitamin B1), Vitamin B12, Vitamin D3.
- Free from: Gluten, wheat, dairy, eggs, soy, peanuts, tree nuts, fish, shellfish, sesame
- Available at: Aldi - get my Aldi ingredient list on Instacart (Affiliate link)
Nature's Path Crispy Rice
- Ingredients: Brown rice flour*, cane sugar*, sea salt, molasses*. *Organic.
- Free from: Gluten, wheat, dairy, eggs, soy, peanuts, tree nuts, fish, shellfish, sesame. Produced in a facility that uses peanuts, tree nuts, and soy.
- Available at: Amazon (affiliate link)
Malt O Meal Crispy Rice
- Ingredients: Rice, sugar, corn syrup, salt. Vitamins and minerals: ferric orthophosphate (source of iron), sodium ascorbate (vitamin C), niacinamide (vitamin B3), zinc oxide (a source of zinc), folic acid, riboflavin (vitamin B2), pyroxidine hydrochloride (vitamin B6), vitamin A palmitate, thiamine mononitrate (vitamin B1), vitamin B12, vitamin D3.
- Free from: gluten, wheat, dairy, eggs, soy, peanuts, tree nuts, fish, shellfish, and sesame.
- Available at: Walmart, find a store near you.
One Degree Organic Foods Sprouted Brown Rice Crisps Cereal
- Ingredients: Organic sprouted whole grain brown rice, organic coconut sugar, unrefined salt, tocopherols (vitamin E).
- Free from: gluten, wheat, dairy, eggs, soy, peanuts, tree nuts (contains coconut), fish, shellfish, and sesame. Produced in a facility that uses soy, tree nuts, and dairy.
- Available at: Amazon (affiliate link)
Are Rice Krispies gluten free?
No, Kellogg's Rice Krispies are not gluten free. They are made with rice, sugar, and malt flavor which is derived from barley, a grain containing gluten.
For a while, Kellogg's made a gluten free variety of Rice Krispies but they are no longer available in the U.S. Luckily, there are several gluten free crispy rice cereal options that work great to make gluten and dairy free Rice Krispie treats.
Are Rice Krispies egg free?
Yes, Kellogg's Rice Krispies are egg free so, if you are only avoiding eggs, you can use Rice Krispies to make these bars. All of the gluten free crispy rice cereals listed above are also egg free.
Are Rice Krispies dairy free?
Yes, Kellogg's Rice Krispies are dairy free. If you do not need to follow a gluten free diet, you can use Rice Krispies and then choose a dairy free butter substitute listed above.
Directions
These bars really could not be simpler to make! It just takes five steps:
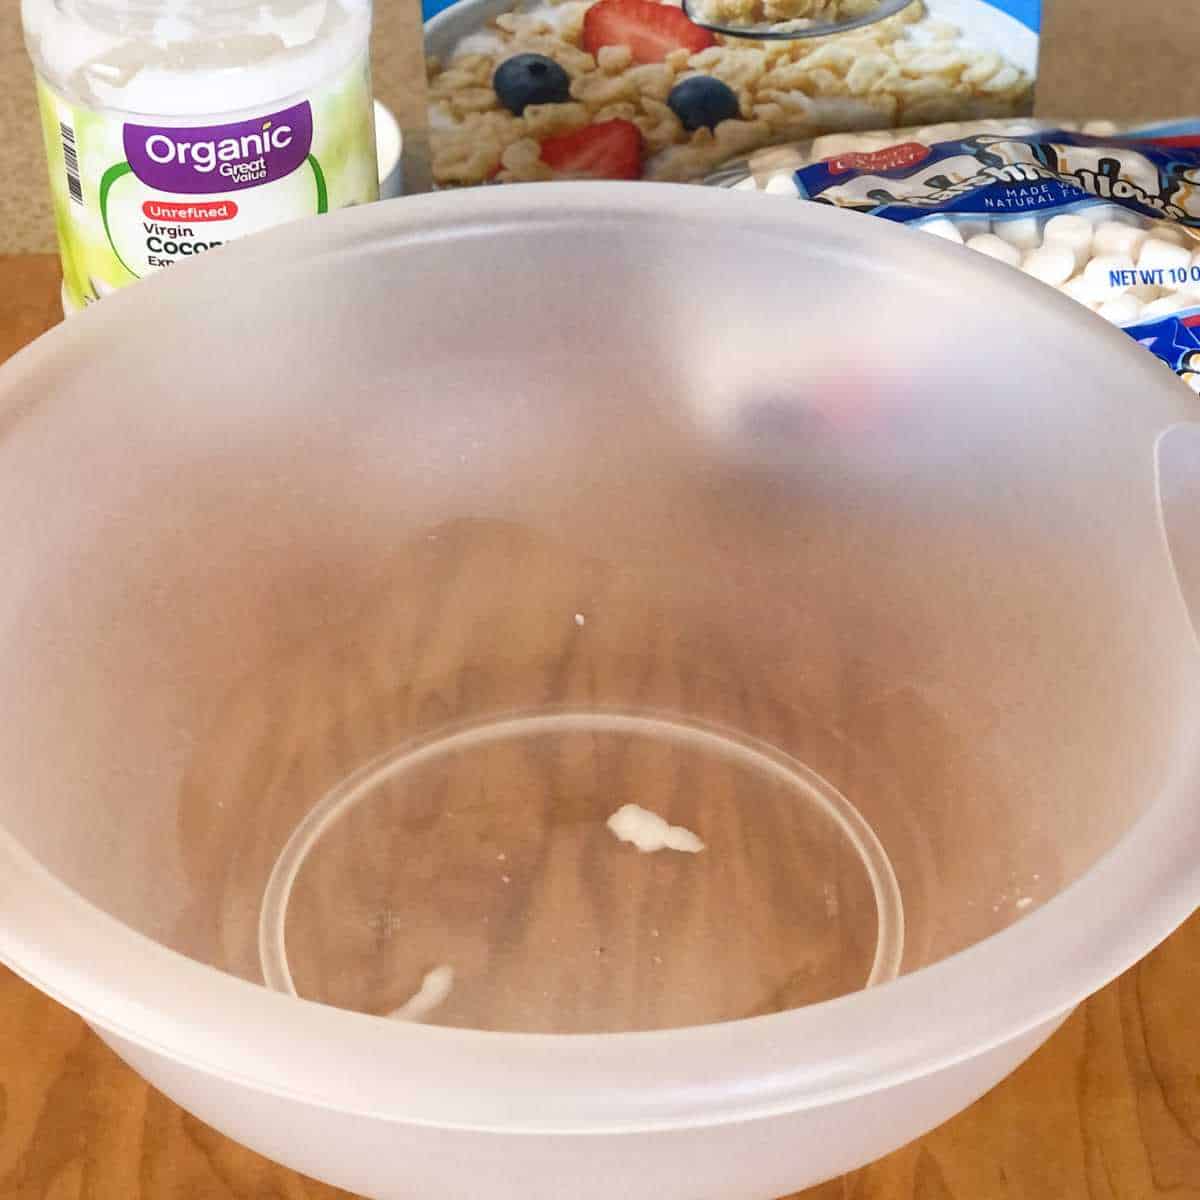
In a large microwave-safe bowl, melt the dairy free margarine or coconut oil in the microwave for about 30 seconds or until melted.
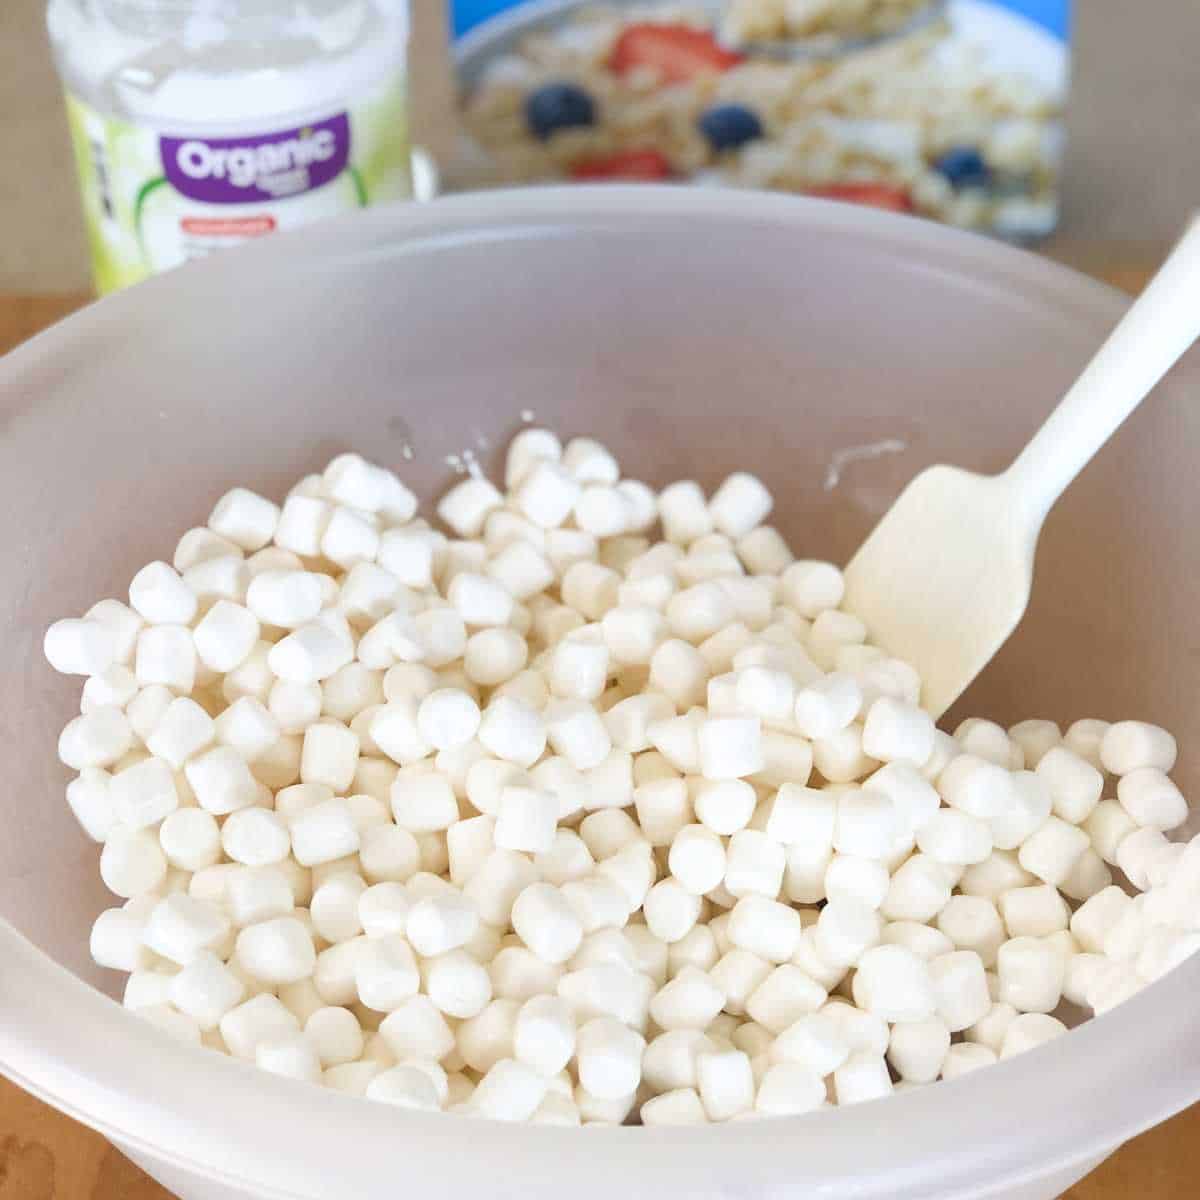
Add the marshmallows to the melted margarine/coconut oil, and stir to coat them.
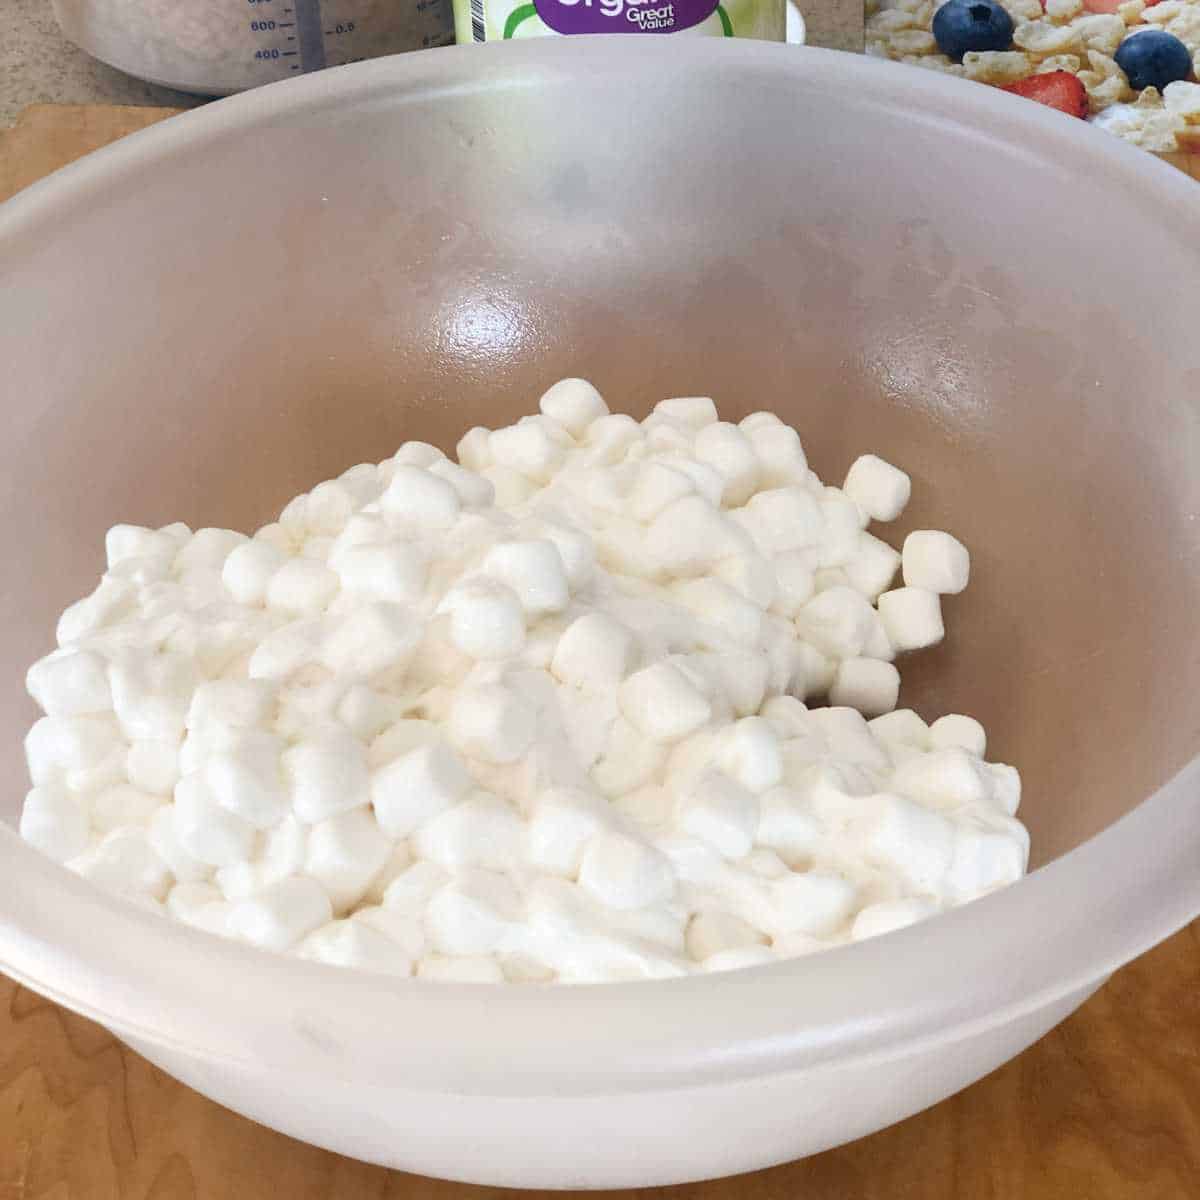
Microwave the marshmallows and margarine/coconut oil for 30 seconds until they start to puff up.

Remove the bowl from the microwave and stir the mixture. If the marshmallows are still lumpy, return them to the microwave for another 15-30 seconds until mostly smooth (a few lumps are OK).
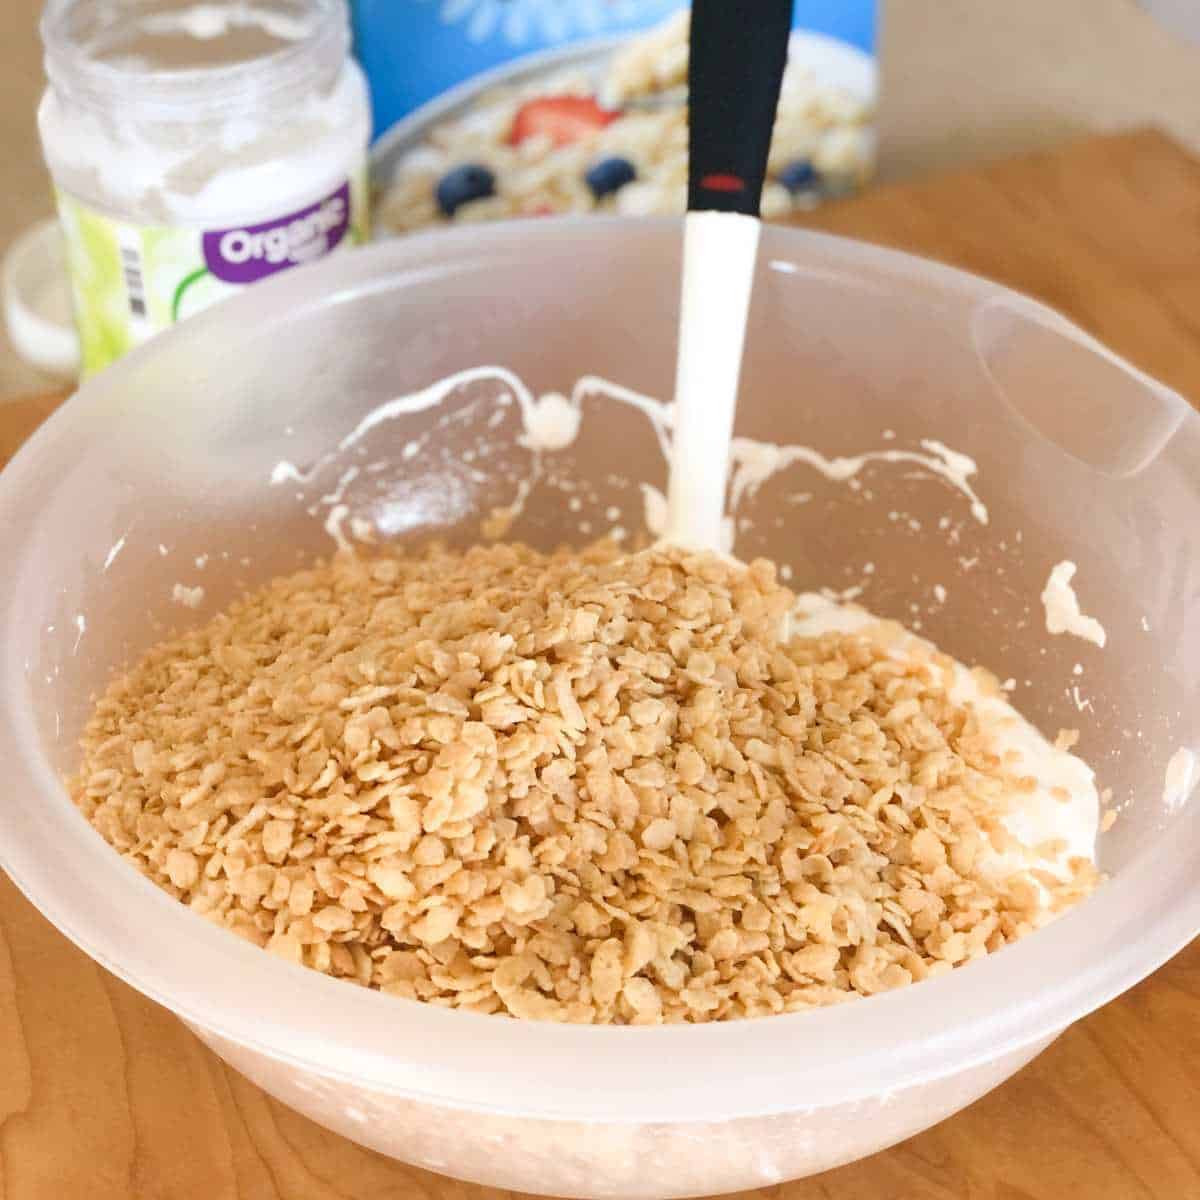
Add the cereal to the bowl.
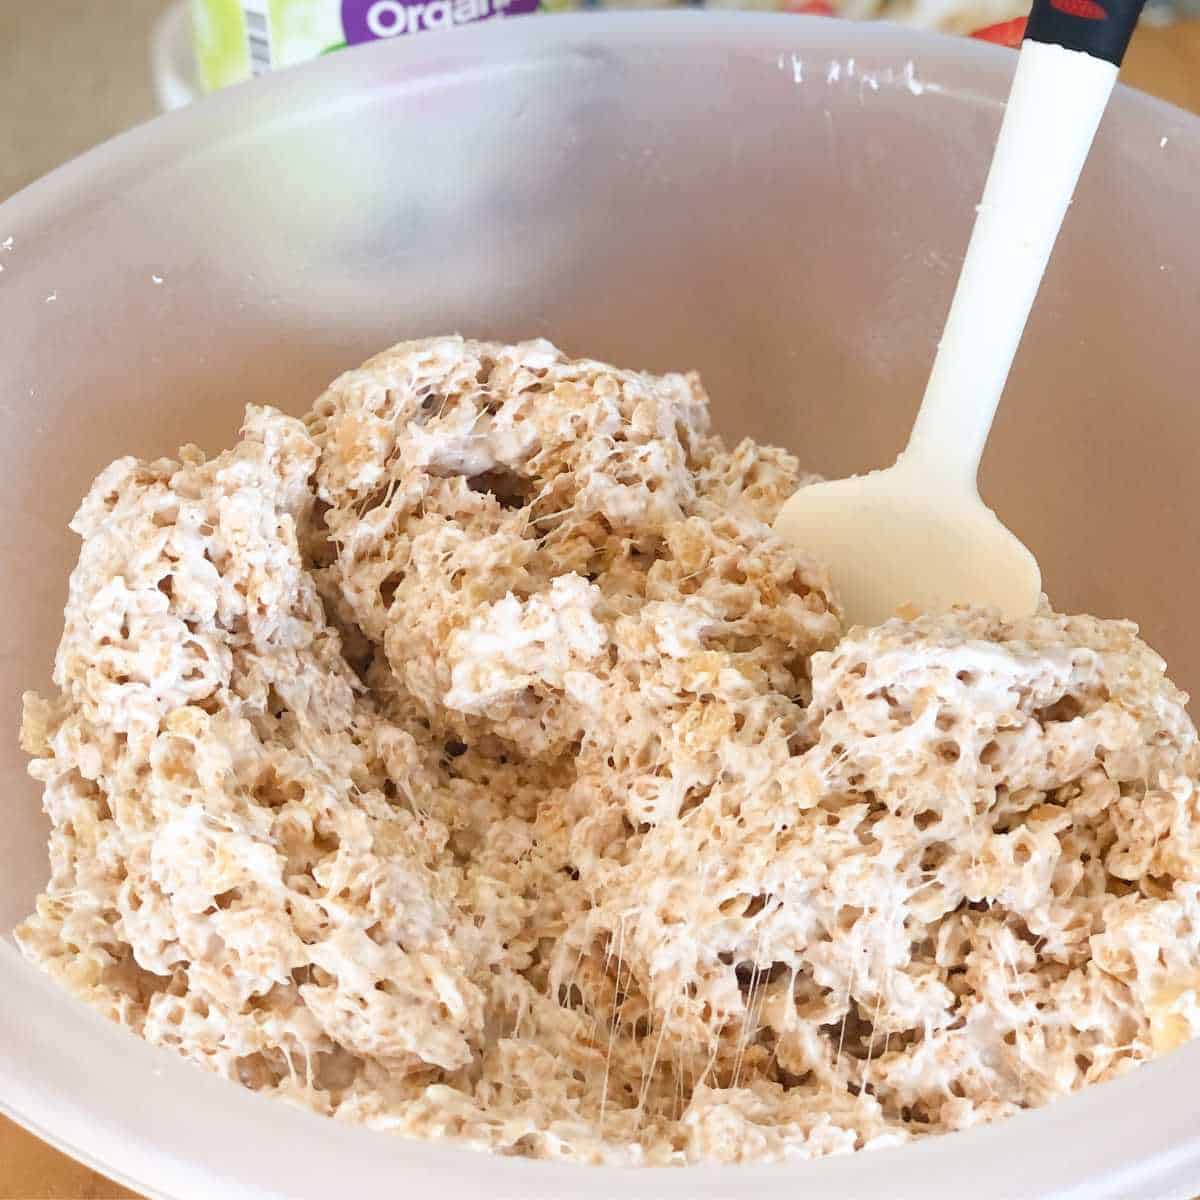
Use a rubber spatula to fold the cereal into the marshmallow mixture until it is all coated.
Tip: Be sure to work quickly when mixing the cereal with the marshmallow mixture, as it will start to harden as it cools.
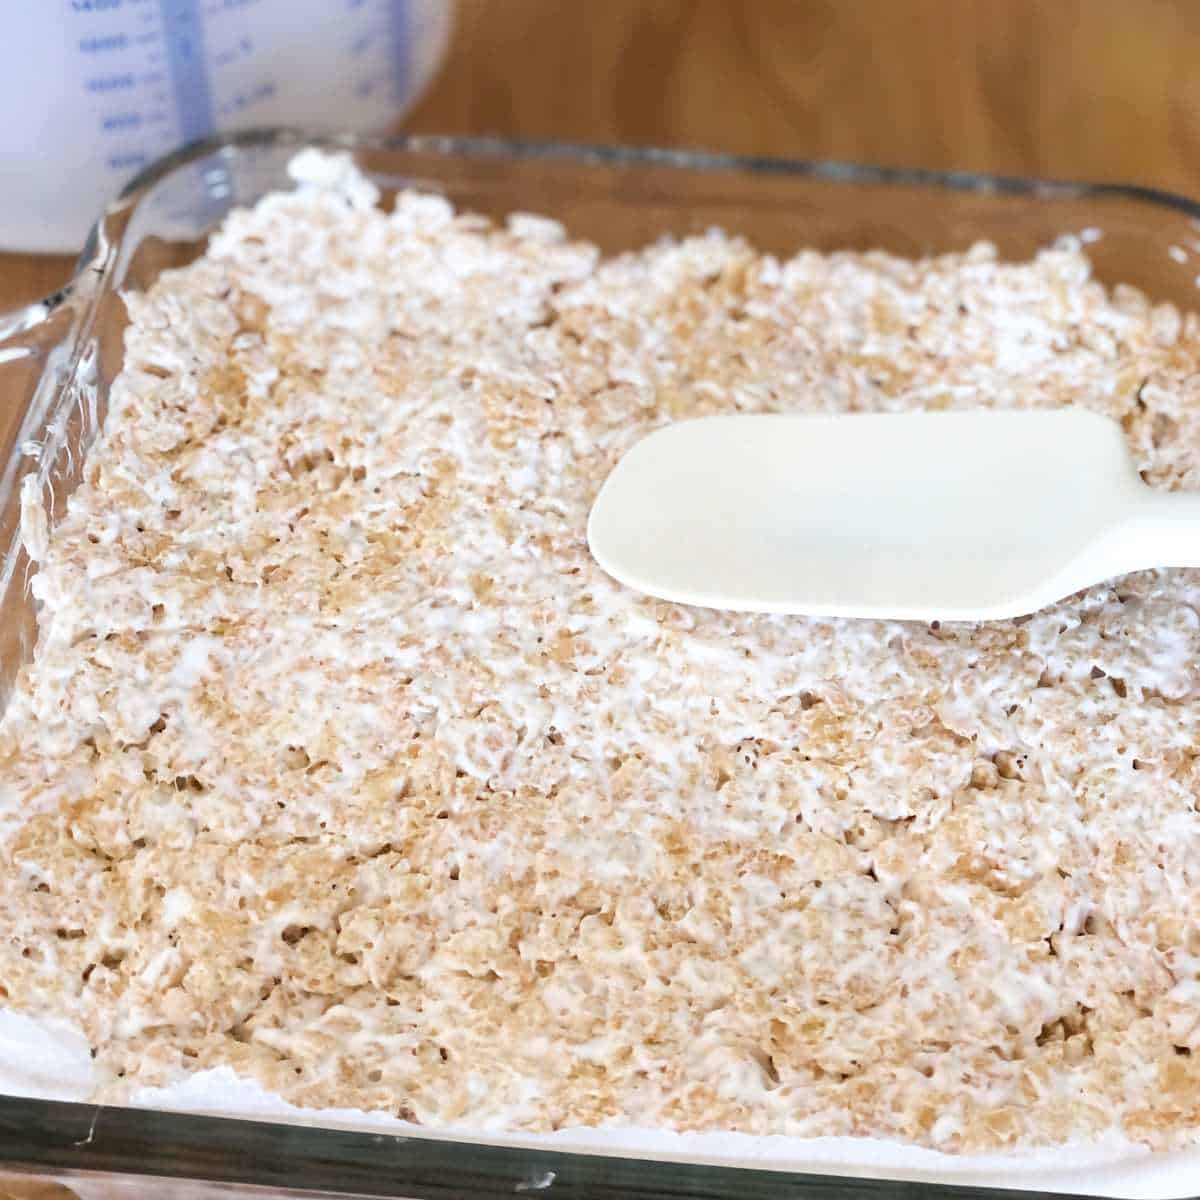
Pour the cereal mixture into the prepared pan and press it to the edges until it is evenly distributed.
Tip: The mixture does not need to be firmly packed, just formed into the pan will do.
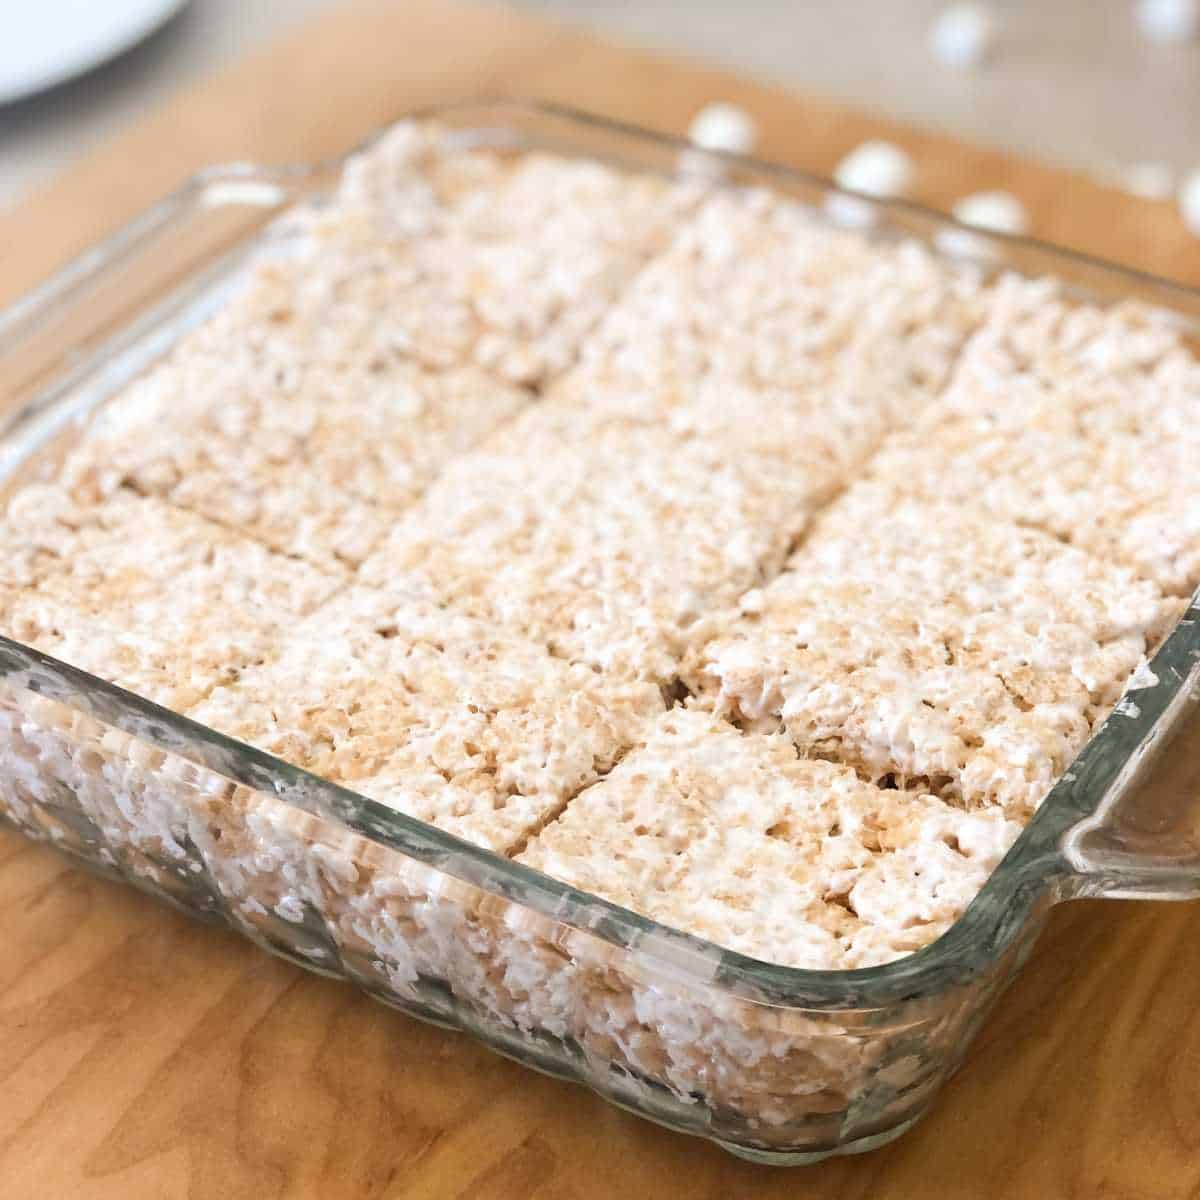
Allow the bars to set for about 15 minutes. Then cut into squares and serve!
See below for variations including decorating tips.
Tip: This recipe makes a thick bar. If you prefer a thinner bar, use a 9x13-inch pan instead of an 8x8-inch. You can double this recipe and use a 9x13-inch pan to make large bars for a crowd!
Variations and FAQs
Try different cereals
Can't find gluten free crispy rice cereal? You can make these bars with any kind of cereal that works for you!
When I have a hard time finding gluten free crispy rice, I use Rice Chex which is gluten free and free from the top 9 allergens. I have also used Cheerios. Here are some other ideas that are free from the top 9:
- Chex: Rice, corn, chocolate, vanilla, apple cinnamon, cinnamon, blueberry
- Cheerios: Original, frosted, cinnamon, chocolate, blueberry, multigrain
- Lucky Charms
- Mom's Best Crispy Cocoa Rice Cereal (like Cocoa Krispies)
Can I use puffed rice cereal?
Yes, you can use puffed rice or other types of puffed gluten free grains like millet or amaranth to make a similar treat. Just know that puffed cereals are not crispy like Rice Krispies, therefore, the texture of the bars will be different.
Can I use brown rice cereal?
Yes, crispy brown rice cereal would work just fine. Plus, you'll be getting a little more fiber as brown rice is a whole grain.
Variations for any occasion
This is a great dessert not only because it's simple to make but it's like a blank canvas for decorations and other variations for all occasions! Following are a few ideas to dress them up.
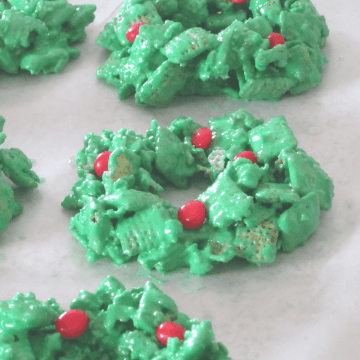
Add some color
Add food coloring of your choice to the dairy free margarine/coconut oil and marshmallow mixture, then add the cereal.
I have made orange bars for Halloween (cut out in pumpkin shapes!), green for Easter, and pink for Valentine's day.
Mix in sprinkles
I have mixed in safe sprinkles and candies depending on the occasion. You would just add this when you add the cereal so it all sticks together.
You can also just put these decorations on top. Just be sure to add them right after forming the bars in the pan so the decorations stick.
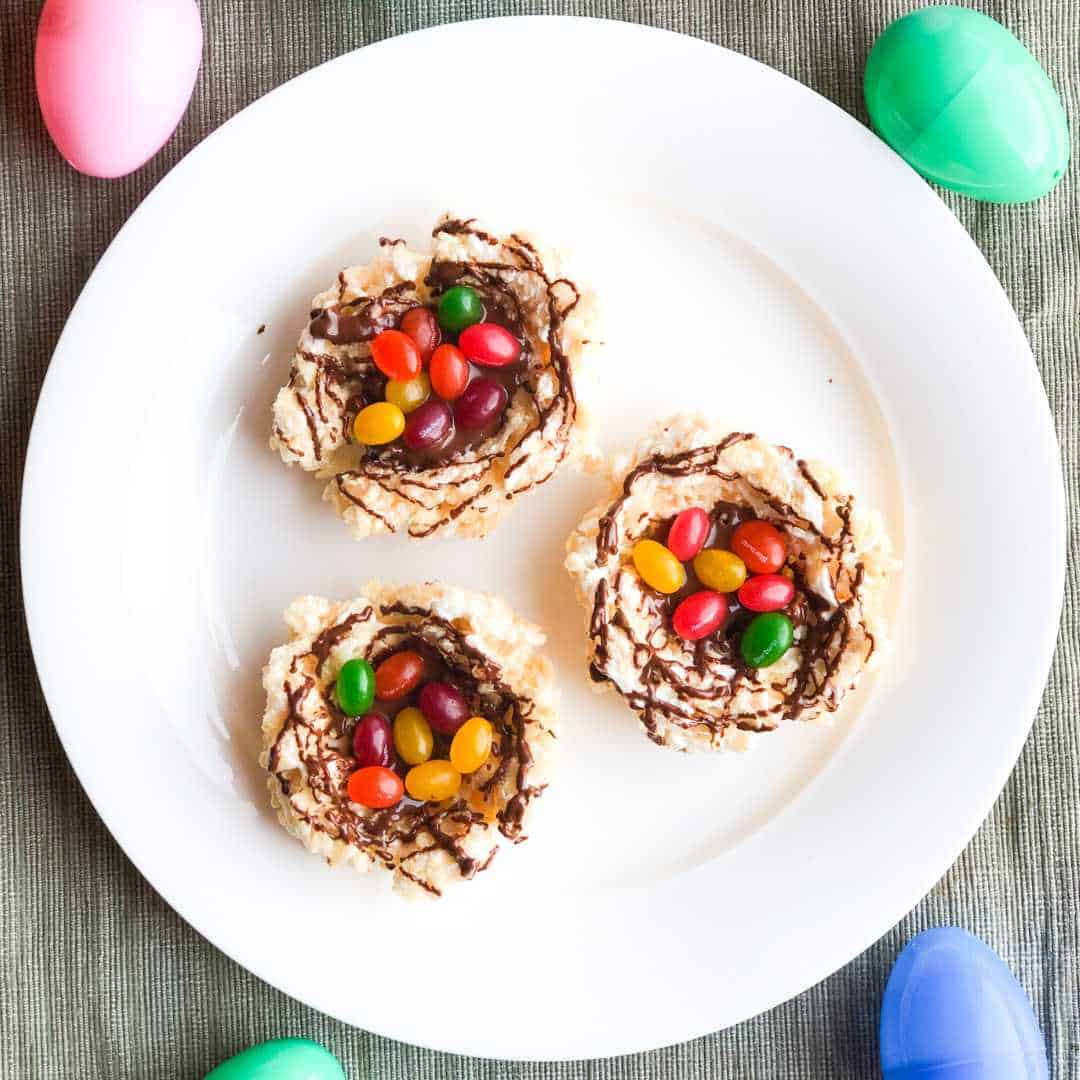
Form them into shapes
These bars firm up as the marshmallow mixture cools but, if you work quickly, you can form them into fun shapes for any occasion!
For Easter, I added pastel sprinkles (about ¼ cup) to the mixture and formed them into egg shapes (I used a ⅓ cup per "egg"). I have also made birds' nests and filled them with safe jelly beans (so cute and the kids love them!)
You can also use cookie cutters to cut them into fun shapes after they have been set.
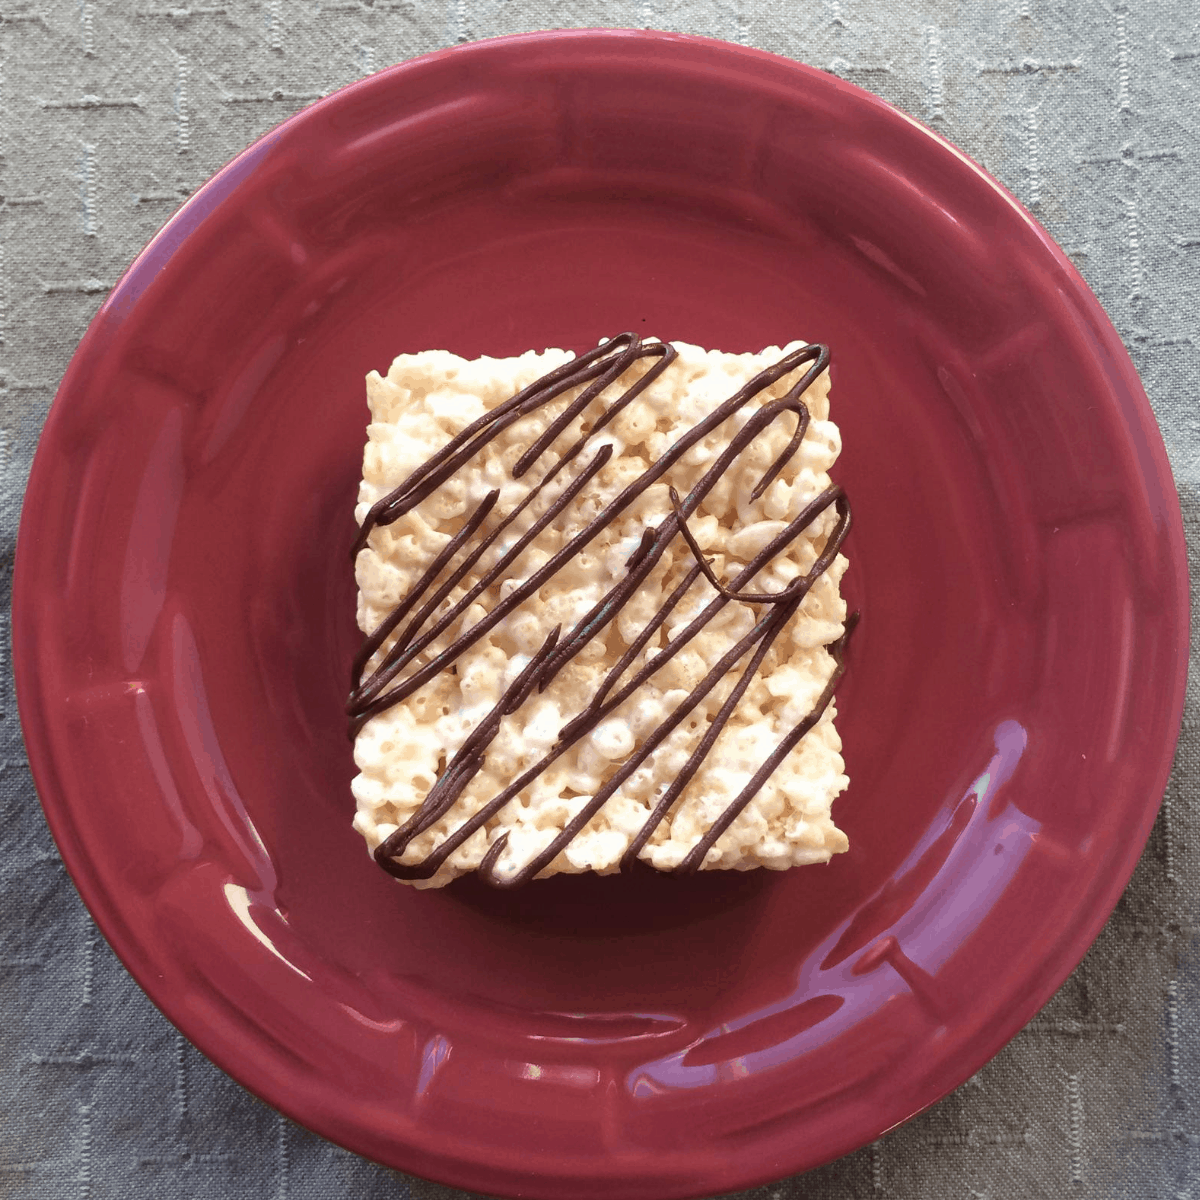
Add chocolate drizzle
One of the simplest ways to make these bars just a little bit fancy is to drizzle some dairy free chocolate over them.
To do this, melt about ⅓ cup of chocolate chips with ½ teaspoon oil in the microwave (or on the stovetop works, too). Put the mixture in a resealable sandwich bag, snip the corner off, and pipe the chocolate onto the pan of bars. The chocolate will harden as it cools.
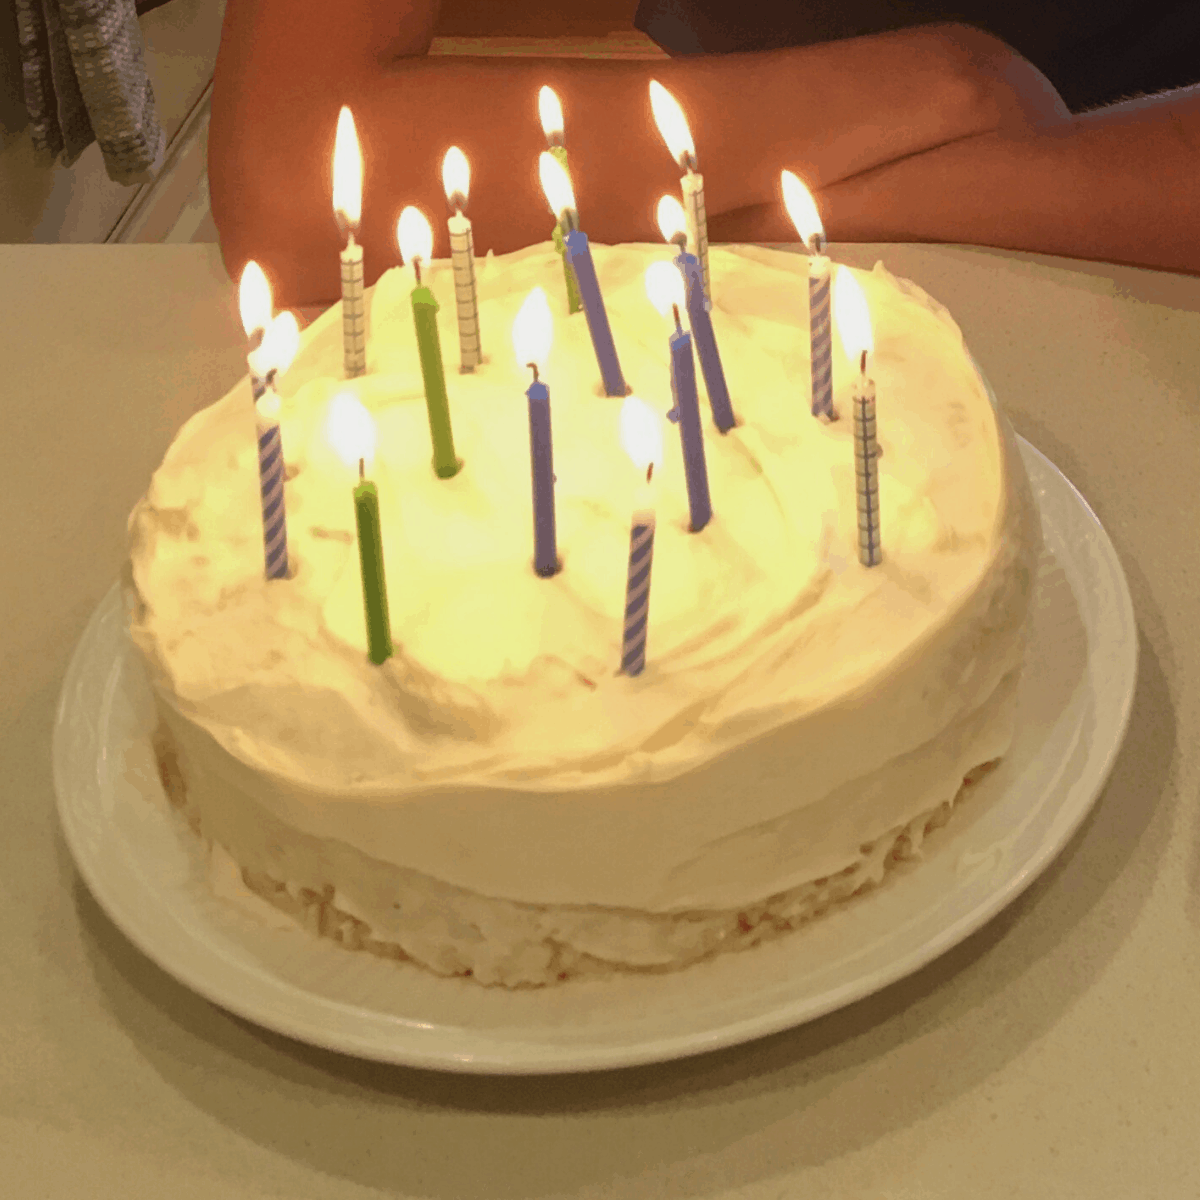
Make a cake
That's right, you can even make a birthday cake out of rice crispy bars! Just double the recipe and divide it into two round cake pans.
When formed, top one layer with dairy free frosting, then add the other layer. Top the whole thing with more frosting and decorate!
This is a birthday cake my mom made for my son one year. Best. Grandma. Ever!
So, as you can see, with this allergy friendly treat, the opportunities are endless! Be creative, have fun, and enjoy! 🙂
📖 Recipe

Gluten and Dairy Free Rice Crispy Treats
Ingredients
- 1- 10 ounce bag of marshmallows
- 3 tablespoons dairy free margarine or coconut oil
- 6 cups gluten free crispy rice cereal or other safe alternative
Instructions
- Put the dairy free margarine or coconut oil in a large microwave-safe bowl and heat for about 30 seconds until melted. Add the marshmallows to the melted margarine or coconut oil; toss to coat. Microwave on HIGH for 1 minute or until the marshmallows just start to expand. Remove from the microwave and stir the mixture. If most of the marshmallows aren't melted, return to the microwave for 30 seconds and stir again.
- Add the cereal and fold it into the marshmallow mixture using a rubber spatula until the cereal is evenly coated with the marshmallow mixture.
- Pour mixture into an 8 x 8-inch pan and press firmly to the edges using a rubber spatula. Allow the bars to set for about 15 minutes. Cut into 8 squares and serve.
- Store in an airtight container for 2-3 days.
Notes
- This recipe makes thick bars but if you would like a thinner bar, use a 9x13-inch pan instead of an 8x8-inch.
- You can double this recipe and use a 9x13-inch pan to make thick bars for a crowd.
- If you want to add color to your bars, add food coloring of your choice to the marshmallow and margarine/coconut oil mixture and stir well before adding the cereal.
- If you would like to add sprinkles, add them when you add the cereal OR sprinkle them on top of the bars before they set.
- To decorate with chocolate drizzle:
- Melt about ⅓ cup chocolate chips with ½ teaspoon oil in the microwave (or on the stovetop works, too).
- Put the mixture in a resealable sandwich bag and snip the corner off with scissors.
- Pipe the chocolate onto the pan of bars. The chocolate will harden as it cools.
Nutrition
Love this recipe?
Please leave a rating ⭐⭐⭐⭐⭐ and share your comments below!
Stay in touch on social media! You can find me @ Instagram, Facebook, and Pinterest. I love getting your feedback so please tag me if you try a recipe!
More dairy free desserts


- Gluten Free Stuffing Recipe - November 13, 2025
- Nut Free Protein Bars - July 8, 2025
- Gluten Free Swedish Meatballs Recipe (Top 9 Allergen-Free) - February 2, 2025
Gina says
When my son first developed allergies it was so hard in the beginning to find stuff he could eat and love. I’m a baker and his allergies meant he couldn’t have my usual stuff. So, on my quest to find treats he could have, I came across this gem. We make it with coconut oil and my son, as well as the rest of the family, love these more than the regular Rice Krispie Treats! They give a delicious coconut flavor to a classic favorite!
Kristi Winkels, RDN, LD says
Hi Gina,
I'm so glad that you and your family enjoy these allergy friendly treats! Thanks for taking the time to let me know!